13 November 2021 – Cutabove Academy, Auckland
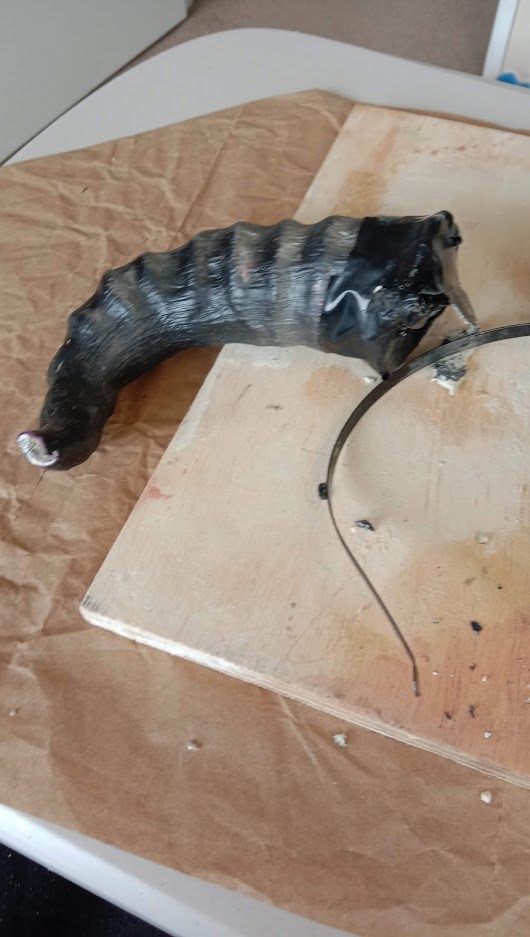
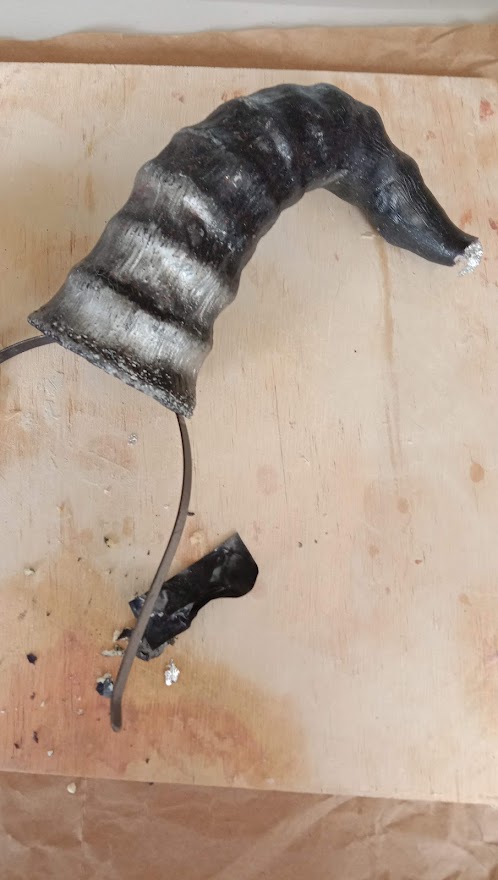
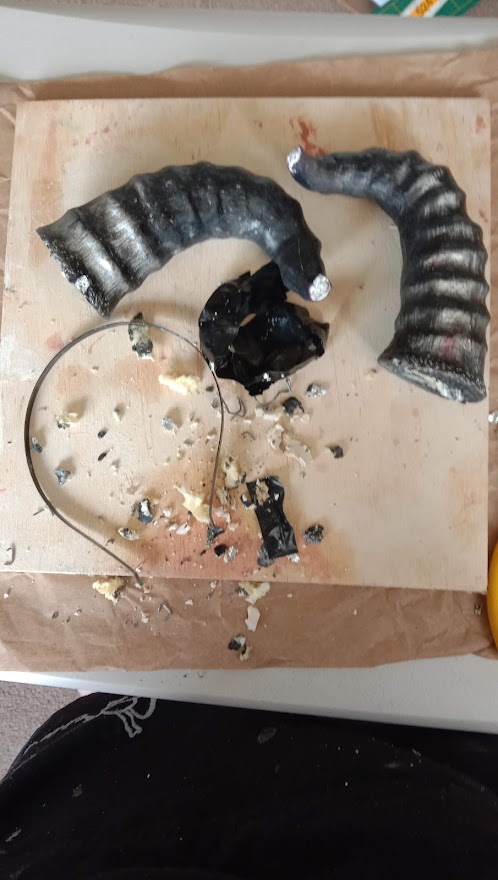
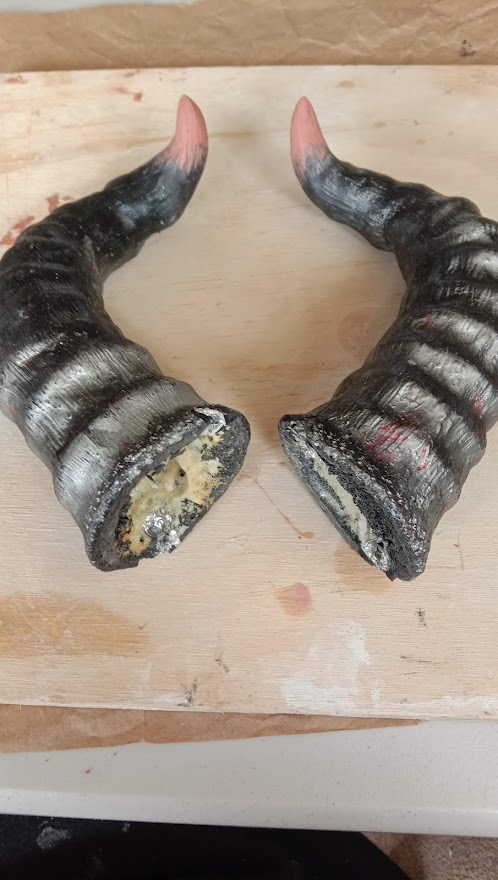
This week, we learnt how to do a 2-part mold for horns, and I took on the project to fix some broken horns that were in the workshop.
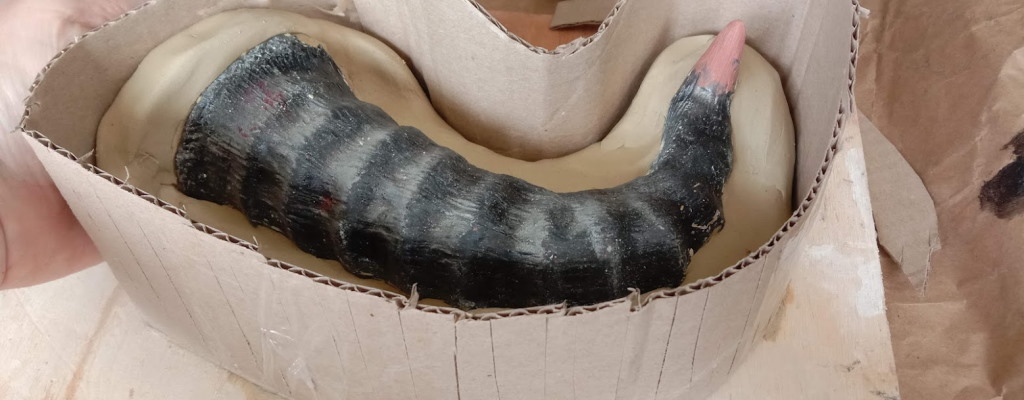
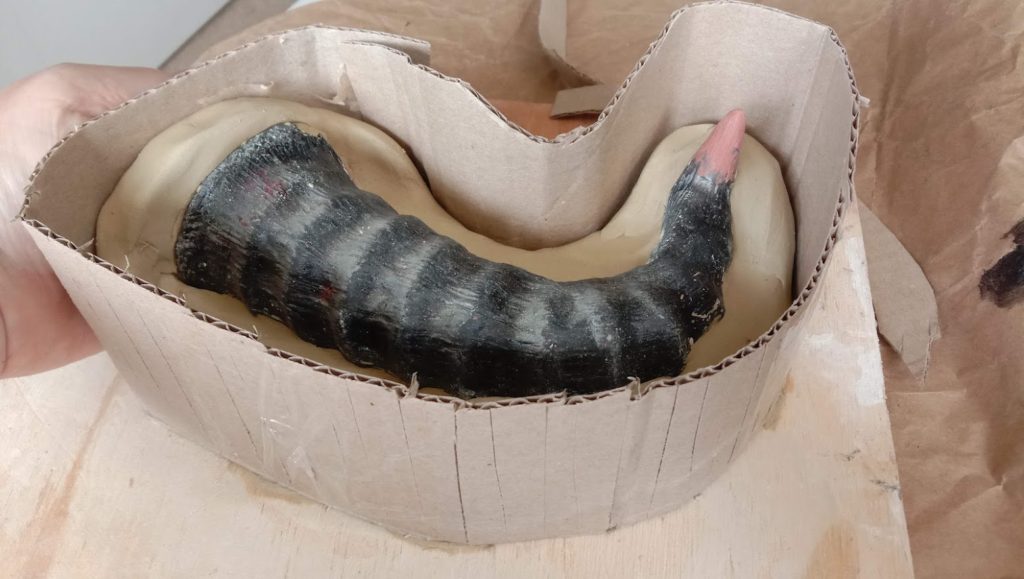
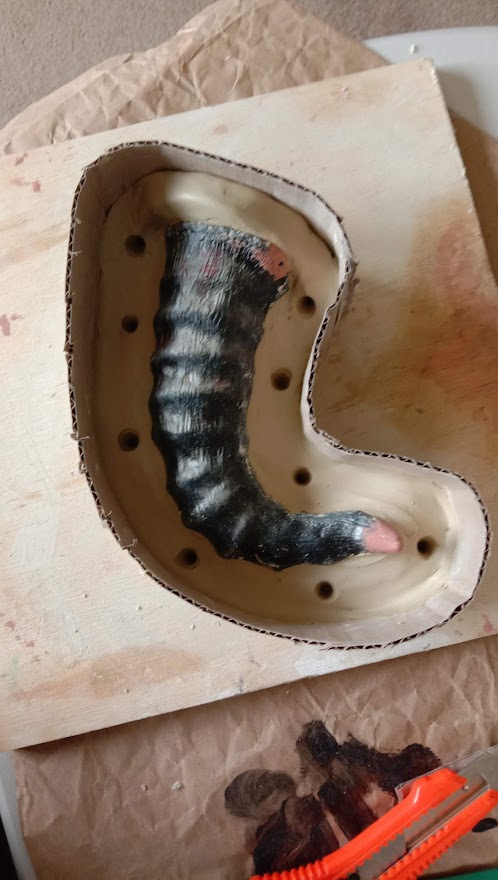
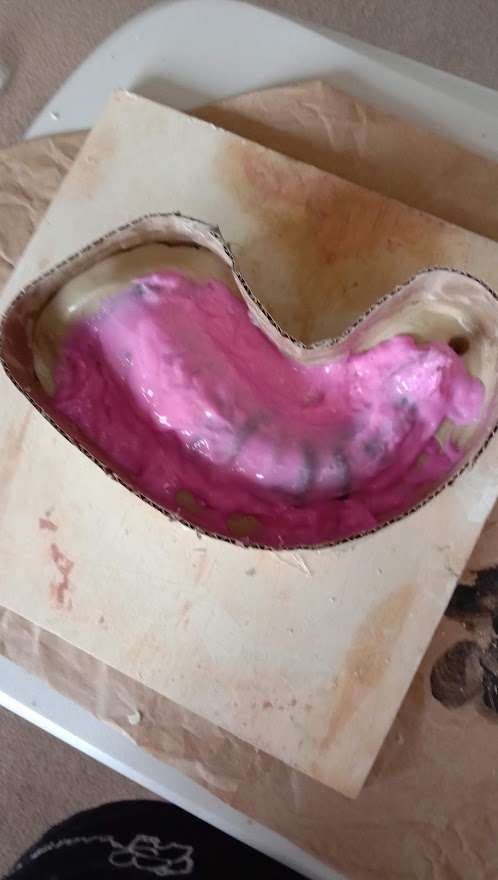
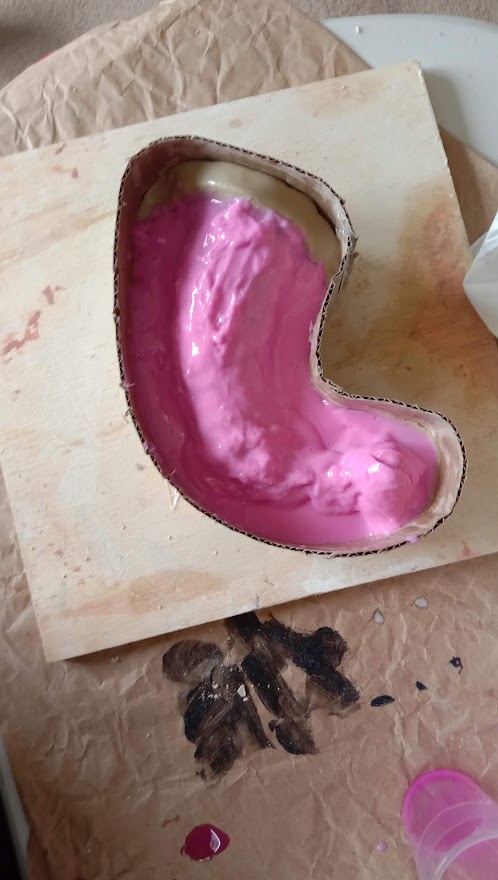
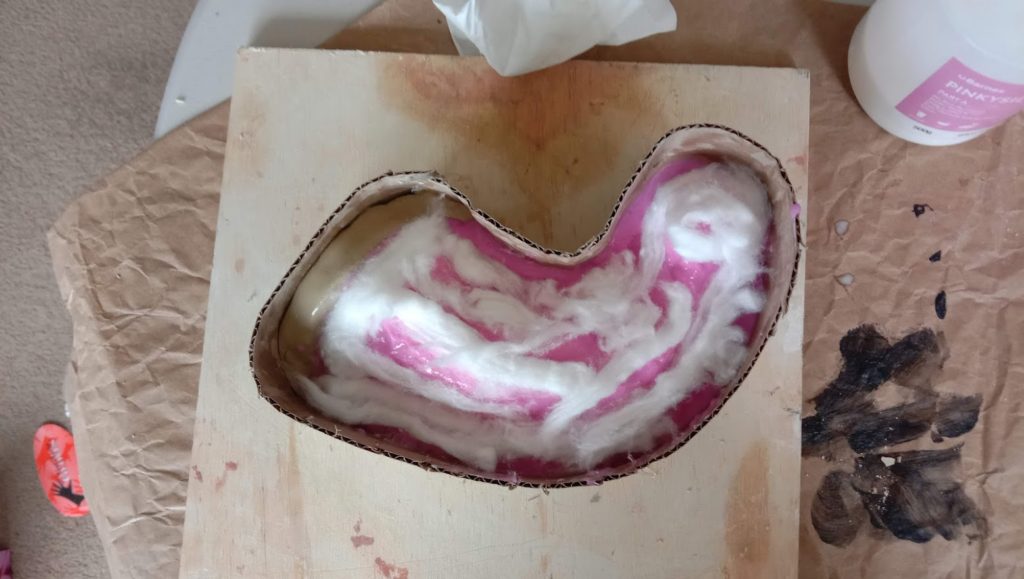
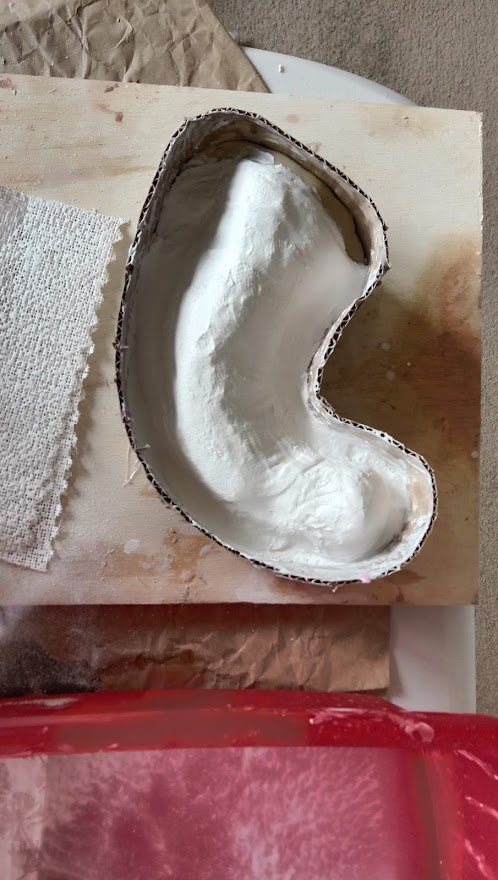
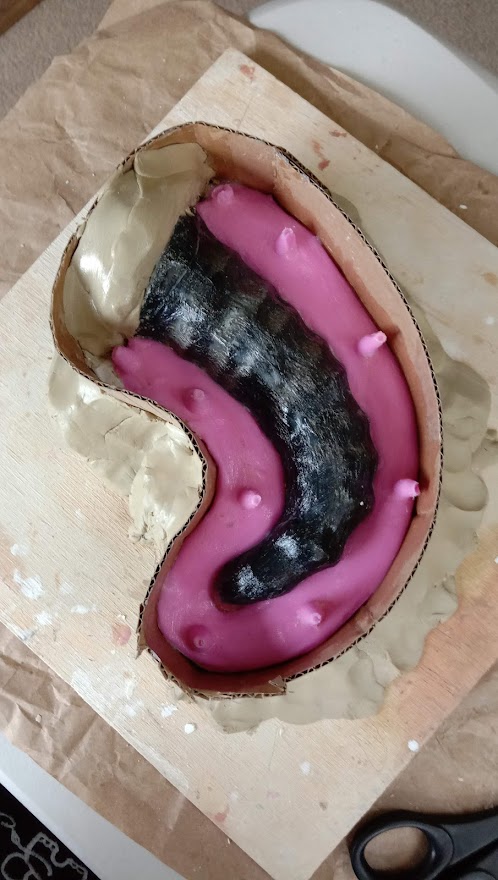
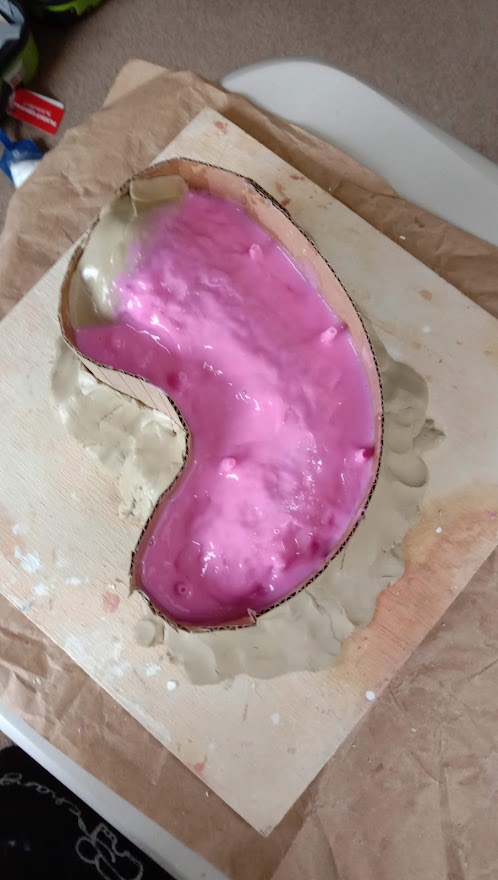
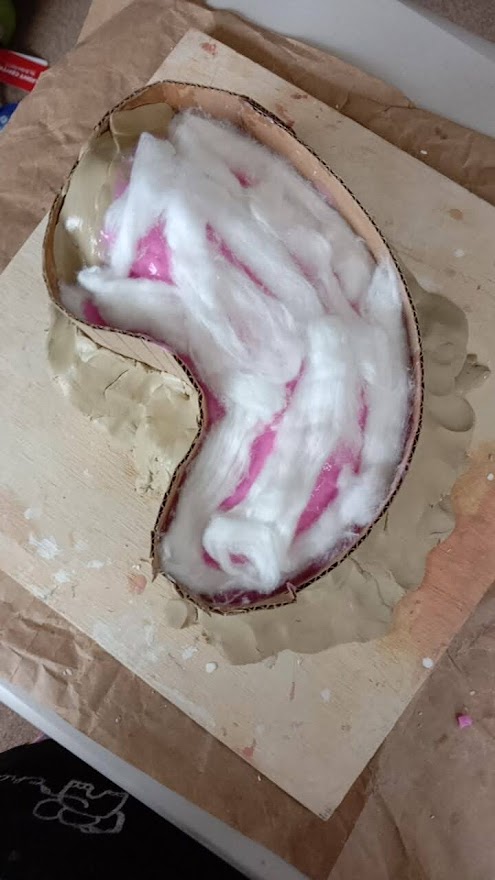
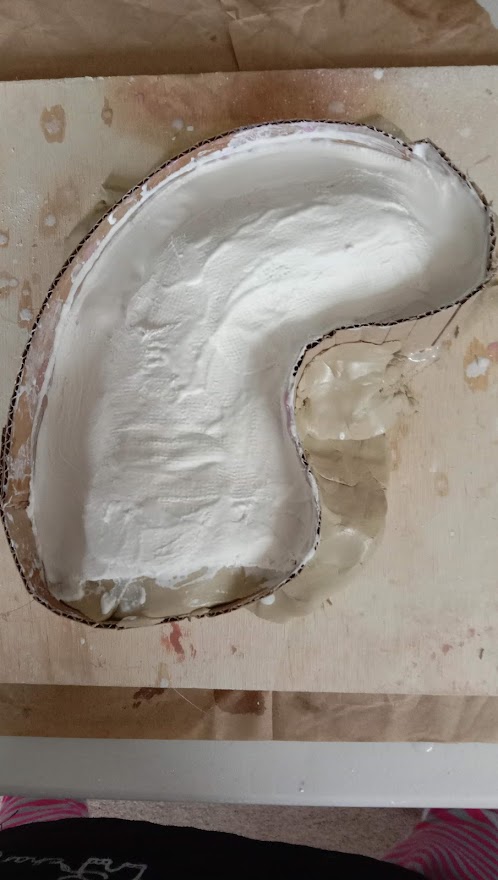
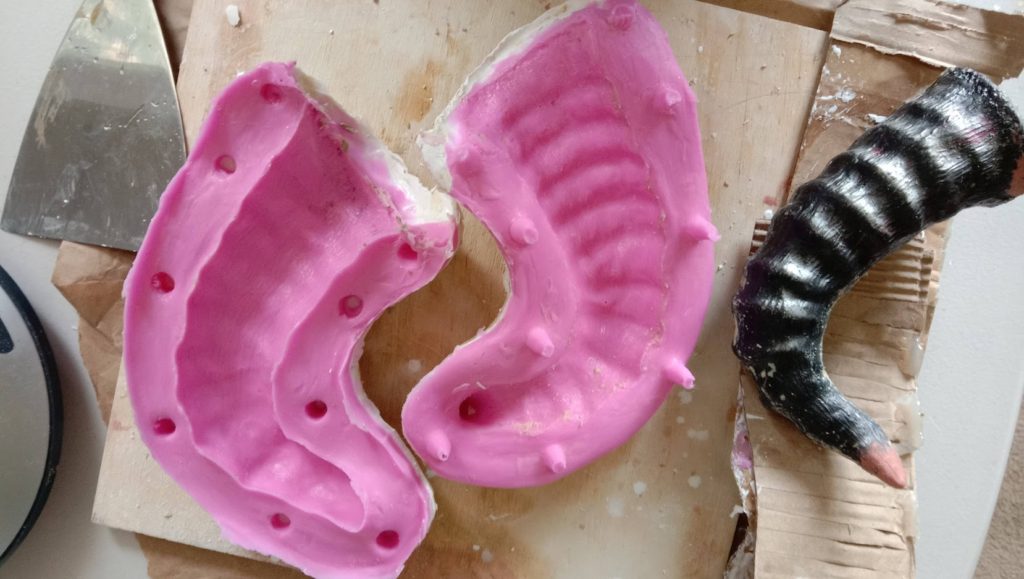
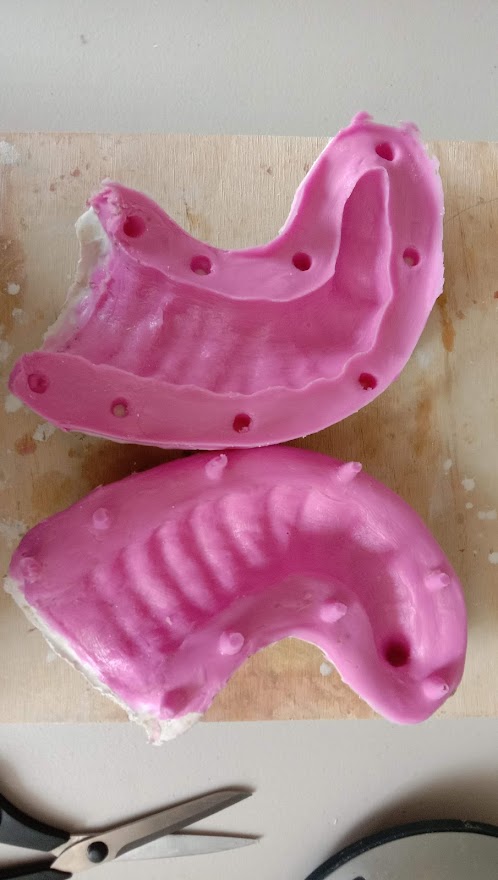
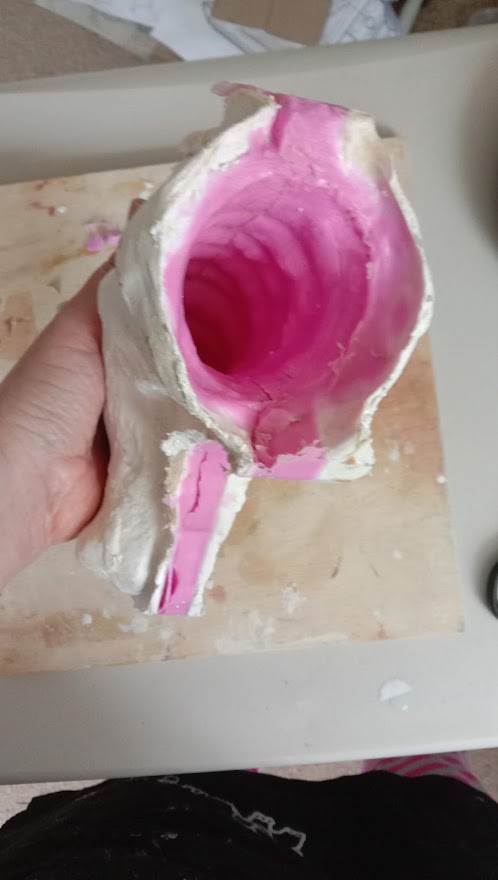
I started with deconstructing and cleaning the horns and sculpting the broken off tips with NSP clay. Once that was done the molding process started. For the base I used wet clay and determined where the highest point of the horns were, that was my half mark. After making sure I had a release on the horn and clay, I started building up the pinkysil. While still sticky add the cotton wool, so the plaster bandages have something to stick to. It was my first time using plaster and I had so much fun.
Once it was totally set, I removed the mold from the wet clay and walls and prepped the other half for the same process. Again I made sure that everything was clean and release used on the horn and pinkysil.
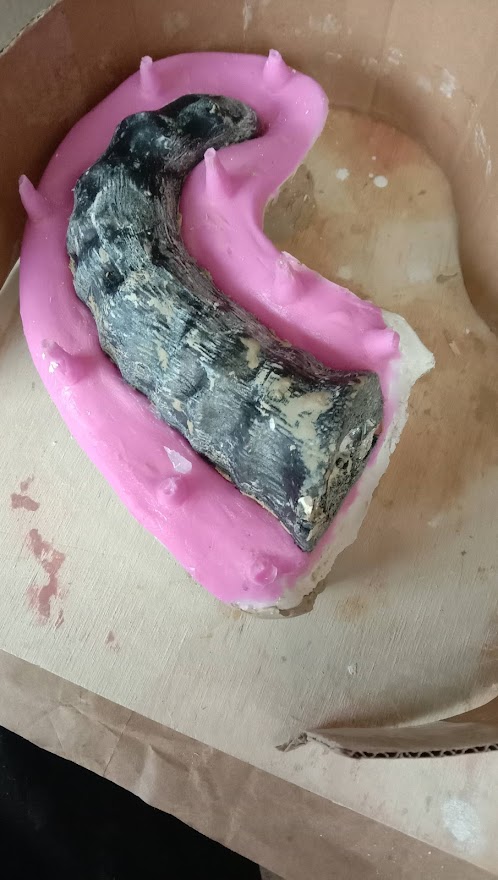
After making sure that the plaster was completely dry, I started the demolding process and I’m very happy with the final result.
What I would do differently next time: The opening of the horns is a bit rough, next time I would take the time and use some NSP clay to mold the opening a bit more detailed, so it will be easier and tidier, when running the horns.
